Serpentine Belt Replacement
This is an easy job and should be pretty much obvious but I made some pictures the other day while I was doing my two cars which were long overdue a new belt.
I always liked the replacement belt for the TTA which was G.M. 12399983 which was a bit shorter than the original belt and it worked well on both the Buicks and the TTA's. This belt has been discontinued and on the advice of Mark, the owner of Ihadav8.com, I ordered a 635K6. He likes the Goodyear Gator Backs with the Goodyear #4060635. It turned out it was the same length as the TTA belt that I always preferred. Note that this belt is for a car with the stock size pulleys.
Now, if your belt looks like this, I suggest you don't wait any longer to change it. When a belt breaks, it can tear a lot of stuff up under the hood while it is flailing around. See all the cracks running across the belt? It should have been changed before it got this bad. See the chunk missing out of the side? Not good.

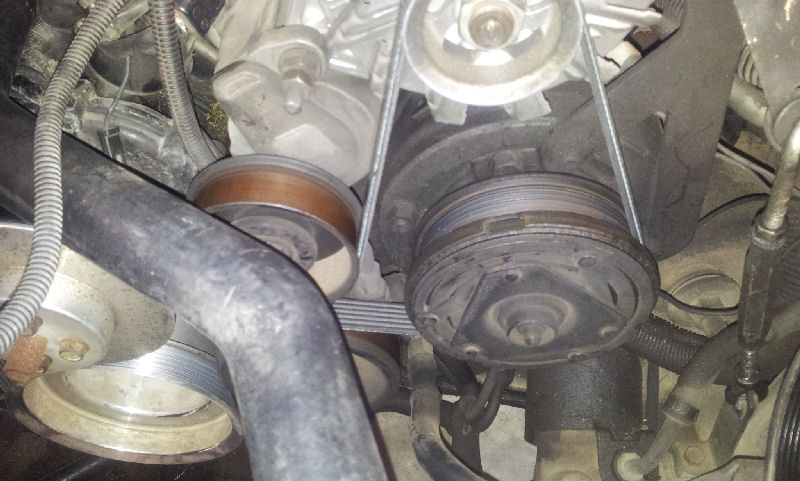
To remove the belt, I took off the turbo inlet pipe so I could better see what I was doing. To remove the belt, release the tension in the idler using an 18mm socket and pull the wrench toward you to swing the idler pulley away from the belt. Holding the wrench toward you, slip the belt off the alternator pulley and then you can release the tension on the wrench handle.
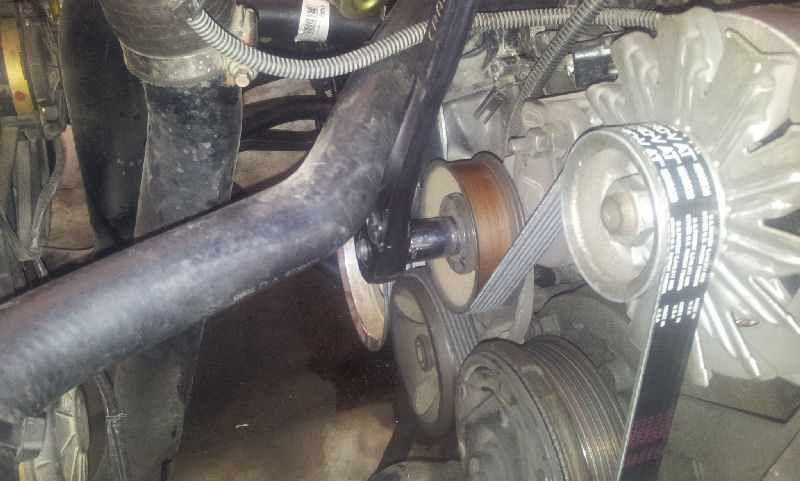
If you have good eyes, you may notice that the belt on this car is a 630 instead of the 635 I mentioned above. That is because this car has an overdrive water pump pulley and takes a shorter belt to keep the idler from hitting the ac compressor clutch after it stretches a bit. Note that this picture is on a front mount car and there is nothing in the way to stop you from quickly popping the belt off and back on.
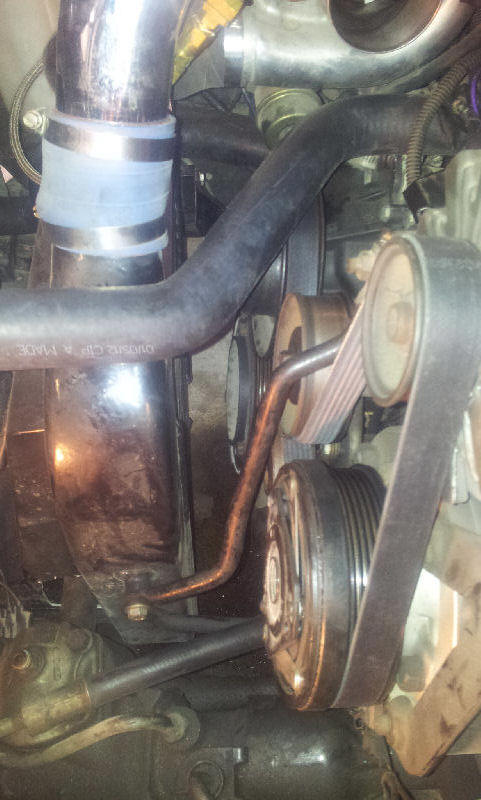
Now this is a car with a stock location V4 intercooler. As you can see, the working room is much tighter. It would be much more tight if there was a fan on the crank pulley. When removing a belt and/or installing one, you must slip the belt between the intercooler and the fan, if so equipped as well as under the intercooler drivers side bracket. The 635K6 fit perfectly on this car.
When installing the new belt get it routed around everything except the alternator pulley. Then put the wrench back on the idler pulley nut and again pull it toward you to completely release the idler tension. Slip the belt over the alternator pulley and release the pressure on the wrench to take up the slack in the pulley. When finished, you should have about one inch between the idler pulley and the AC clutch. Be sure that neither the upper radiator hose nor the turbo inlet pipe are in a position such that a pulley or alternator fan can rub/hit them.
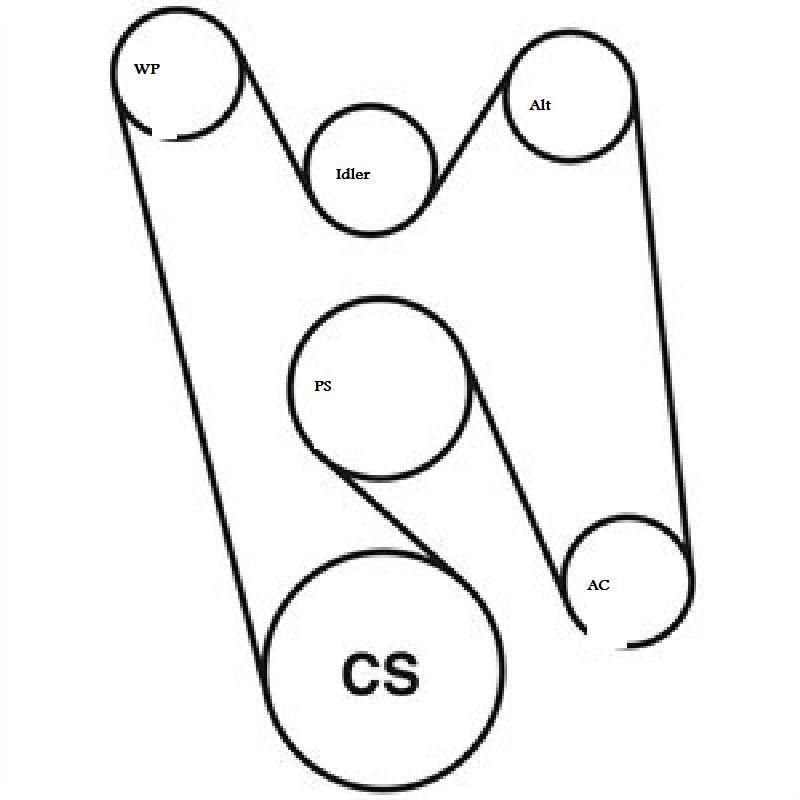
The belt routing is simple, but, if you get lost, here is a simple diagram. It is skewed as the top left small pulley is the water pump and it should be directly over the crankshaft pulley. Not drawn to scale at all but the routing is correct.