Swapping Injectors
Swapping injectors should be a relatively easy job altho sometimes, injectors that have not been removed in several years can feel like they are "glued" into the intake manifold when trying to remove them. This is particularly true when trying to pull the original injectors out.
Before you attempt to swap a set of larger injectors into a car, always be sure that you have a matching chip to go with them. If you use a chip made for smaller injectors with a set of larger injectors, the car will spray way too much fuel and you may "wash the cylinder walls down" which removes the oil film from the cylinders and that causes the rings to chew themselves up in a very short period of time. That will cost you a lot more money than having the right chip on hand.
It is also wise to have a set of fuel line o-rings on hand because the ones that seal the fuel delivery line and the fuel return line to the rail and regulator are usually chewed up. It can be frustrating to do the work and have a leak spraying fuel over the engine. It's a bit dangerous as well. These two o-rings are different sized and the G.M. #s are 22514722 and 22516256. Borg Warner's number for the pair is 27478.
It might not hurt to have this kit as well-Delphi FH10108 Fuel injection Nozzle O-Ring Kit. This has the O-rings for both top and bottom of each injector. One of these also fits the fuel pressure regulator. If you manage to screw the regulator o-ring up, you can pop one off the old injectors if you are careful. As a rule, I don't buy these. I just count on not screwing one up and/or borrowing one off the old injector if I do.
It is also a good idea to remove the battery ground cable before you start working on the project as you will be very close to the battery terminal on the back of the alternator and it really smarts when you lay a metal watch band across it not to mention the fireball and other associated affects. Wrenches can have a similar affect; the burn is just in another place. Took me quite awhile to get used to wearing a watch on my right arm until the burn healed on the left.
It is a good idea to clean out around the injector bosses before getting started. You can blow the accumulated crud out with your air compressor if you have one. Or, you can use some carb cleaner and spray around the base of the injectors to blast any dirt, or such, out of the boss above the injector o-rings. Then, when dry, spray some AeroKroil, PB Blaster, WD-40 or similar around each injector base. This hopefully will seep around the o-ring and make it let go easier once you get to the point of lifting the rail and injectors up and out.
Most of the bolts will be 13mm and 10 mm while the throttle cable bracket mounting bolts were 8mm. I used 11/16" on the fuel line and return line. I believe 16mm will also work.
The first step is to release the fuel pressure from the rail if pressurized. You can put a shop rag over the Schrader valve and push the button in, or you can crack the fuel line fitting and catch the fuel in a shop rag. The main thing you are trying to prevent is getting an eye full of gasoline. I guess it goes without saying that this is a bad time to have a lit cigarette in your mouth.
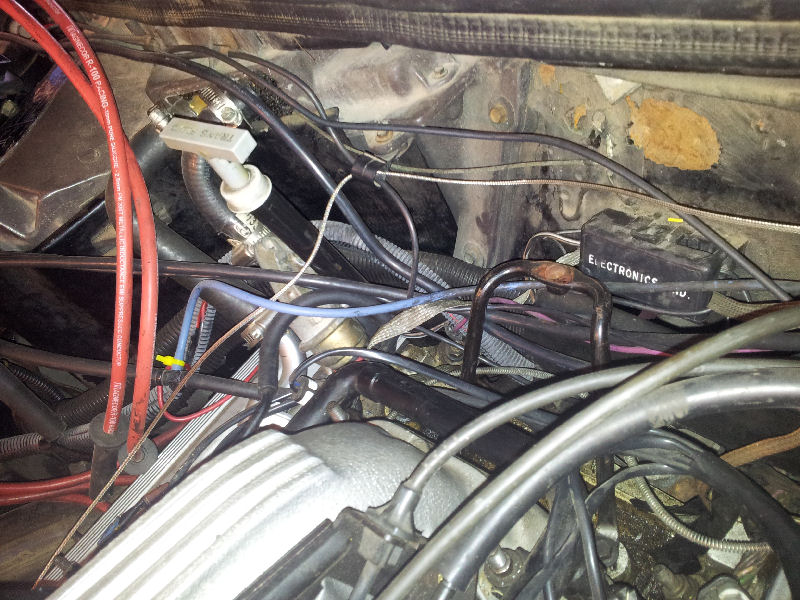
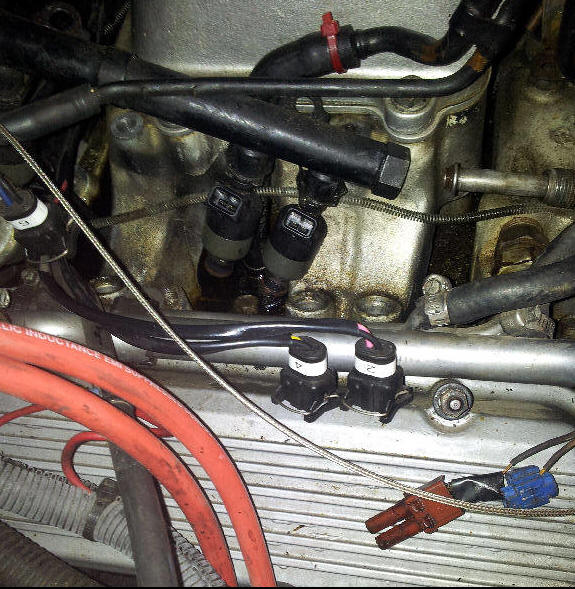
Next, remove the coil pack and the throttle linkage to make room to lift the fuel rail up and off. Below, I disconnected the module connector and plug wires from the driver's side and placed the coil/module over on the hvac box. If the plug wire are long enough, you can simply move the coil pack toward the firewall so you have a gap between the bracket and the plenum.
And here, I removed the throttle linkage and pulled it out of the way. Two clips on the bottom and simply push the connector at the top forward and off to disconnect the three cables. Two small bolts at the top and a bolt at the bottom to remove the bracket.
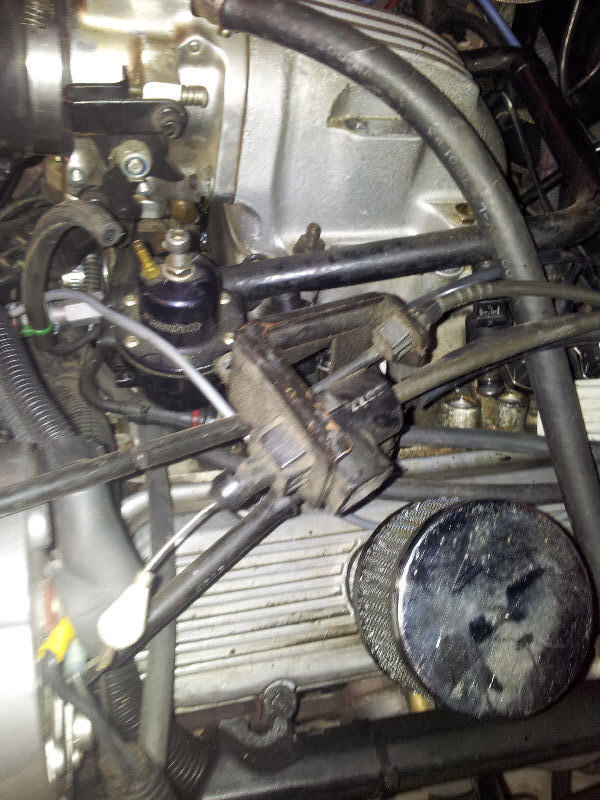
Now, the fuel rail should be fully exposed with no major obstacles remaining to its removal. At this time, remove the fuel line fitting to the rail on the passenger side. Then on the driver's side, I prefer to remove the fitting from the bottom of the fuel pressure regulator although some instructions say to remove two bolts holding the regulator to the rail and pull it back from the rail. The reason I like to unscrew the return line from the regulator is because it is very easy to cut the regulator o-ring when trying to push the regulator back into the fuel rail. This happens because is difficult to wiggle the regulator when trying convince the o-ring to slide back into the fuel rail socket if the line is still attached to the bottom and it is hard to get your finger down to the o-ring to smear some grease or Vaseline on it to make the job easier. It might work better if the return line was loosened a few turns.
This is what happens to me quite often when I choose to remove the regulator from the rail instead of simply undoing the return line and leaving the regulator in place. That gash in the o-ring can really cause a gas spray just when you think you are done. Fortunately, an o-ring off an old injector fits as it is the same as the one off the regulator.
After disconnecting the lines, unclip all six injector connectors (push in on the wire spring and wiggle the connector off) and then remove the four bolts/studs that hold the rail down in place. If using the factory injector harness, I have always found it helpful to tie wrap the harness to the rail so that the injector connector will be hanging right beside the injector it goes to. For me it is easier than trying to find the small numbers on the factory connectors. If you do this, you will have to disconnect the main fuel injector harness connector from the engine wiring harness so the harness can be removed with the rail.
On this car, I have an aftermarket HD harness that is a bit stiff to tie to the rail. However, each connector is labeled with a nice, big tag.
At this point, there should be nothing left to do but lift the rail and injectors up and out. In this case, I grabbed the rail at the front and start wiggling and lifting and the injectors easily came loose and separated from the intake. Whether this was because I had changed injectors about ten years ago and smeared plenty of grease on the o-rings before pushing the new injectors down into the rail, because I sprayed some AeroKrOil around the bases a couple of hours before, or I was simply lucky, I cannot say. Other than removing the original set of injectors many years ago, I have never had a problem pulling them out.
I know that if they are firmly stuck, you can take a pry bar, or flat bladed screwdriver and using a small block of wood for a fulcrum you can break them loose if they don't want to budge. Using a piece of wood, or a screw driver handle, or such, not only gives you leverage, it also keeps you from chipping the cast aluminum injector boss. That is important.
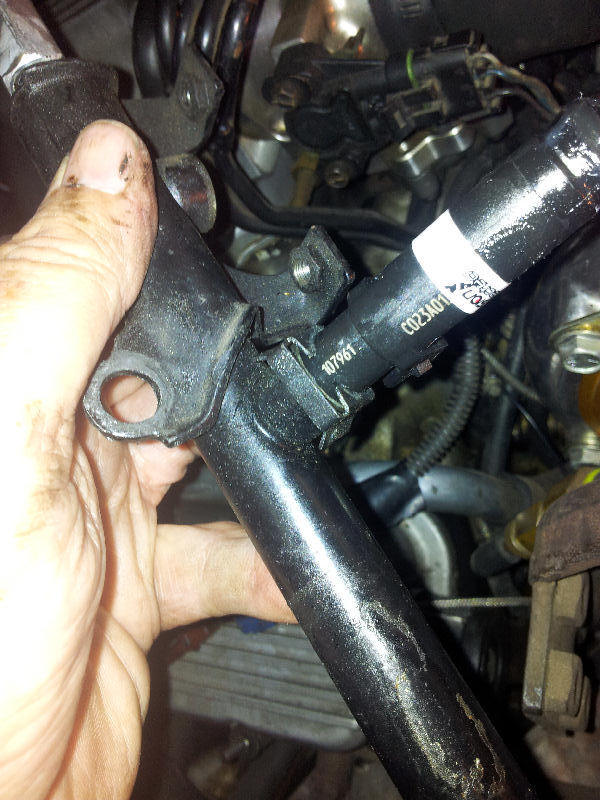
Note that in the below picture, the passenger side of the rail does not want to come out because it is caught between the pcv and the map steel line. I pulled the pcv up and out of the way and there was nothing stopping it from coming out at this point.
At this point, I would normally take the rail over to the bench and pull out the old injectors and install the new ones. In this case, I had not removed the fuel pressure transducer from the driver's side end of the rail and I did not want to mess with disconnecting the wire and taking it off so I simply removed the old injectors and installed the new while holding the rail in one hand standing beside the passenger side fender.
How the injectors are removed depends upon whether the original factory retainer clips are still there, or if they have been discarded in the past during a prior swap. This is the fourth swap on this car and surprisingly, I kept putting them back on. I tossed them the first time I did a swap on the other car. Go figure. It makes no difference whether they are in place, or not. Once installed, the injectors cannot go any place.
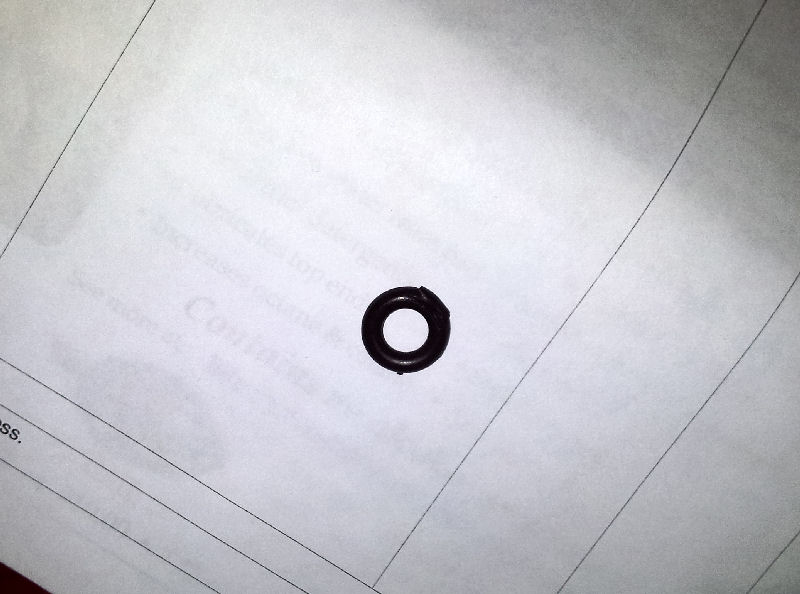
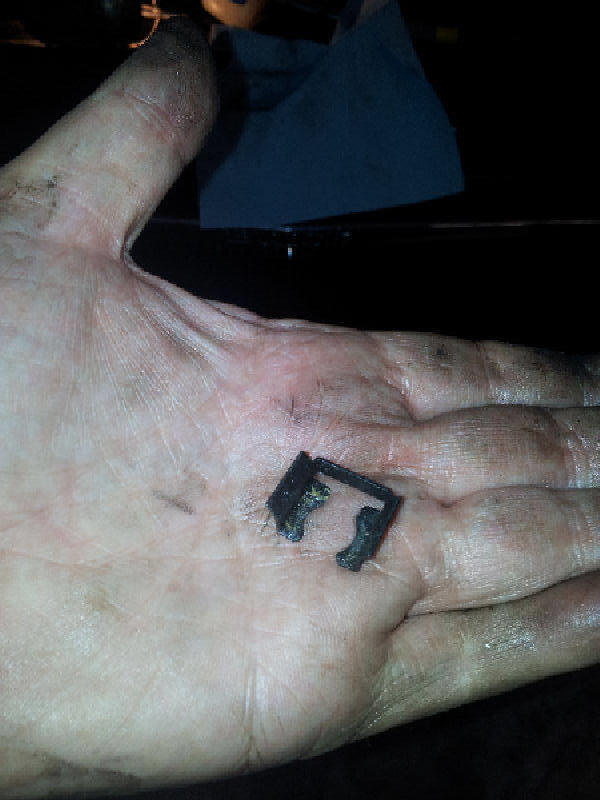
The clips, if present, slide around the tube on the fuel rail that the injectors insert into and catch a notch on the injector. Just push them off to release the injector. Here is a picture of a removed clip.
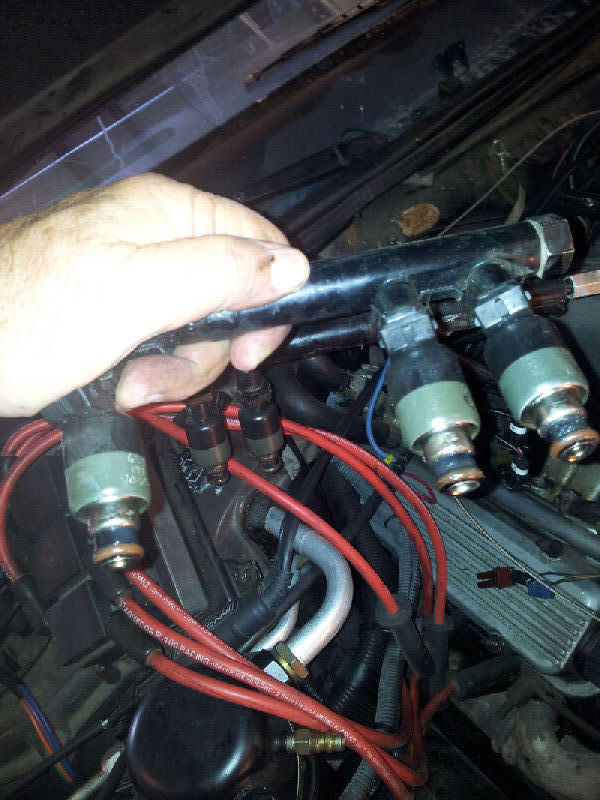
Okay, here I am holding the rail and fixing to remove the clips. Once the clips have been removed, simply grab the injectors and wiggle them out of the rail. They should slide right out.
Once all injectors are removed, take the new injectors and smear a generous amount of grease or Vaseline over the o-rings on both ends of each injector. Then insert each injector into the fuel rail and wiggle it down into its tube on the rail. If you are going to reuse the clips, pop them into place. The picture below shows how the clip is positioned. You can also see the Vaseline on the bottom of the injector, top right in the picture.
Once all six injectors are installed in the rail, drop it back in place being sure to get each injector positioned over/inserted in its boss in the intake. Once they are all in position, simply push down on the rail and push them into place. Reconnect the fuel line and the regulator return line. As I said at the beginning, it's a good idea to replace the o-rings on these two lines before dropping the rail into place...much easier to do then than later when you crank it up and find a leak. After connecting the lines, bolt down the rail and reassemble the stuff you moved out of the way.
Be very careful to not allow the injector harness to lay against the egr valve where it can burn thru or be pinched by the coil bracket-or anything else. It takes only a few seconds of being shorted out to burn up an injector driver in the ecm. Then you can install your spare ecm if you have one.
This job does not normally take a long time and goes even quicker if you have a partner on the other side of the car helping you.
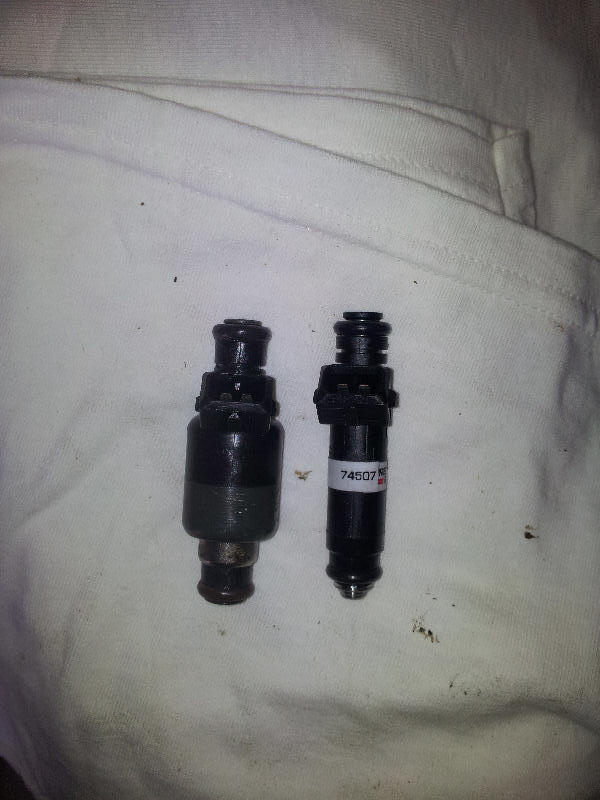
Below is a picture of the 75 lb low impedance injector I pulled out compared to the "skinny" 60 lb, I installed. Both are the same length so the difference in body size makes no difference.